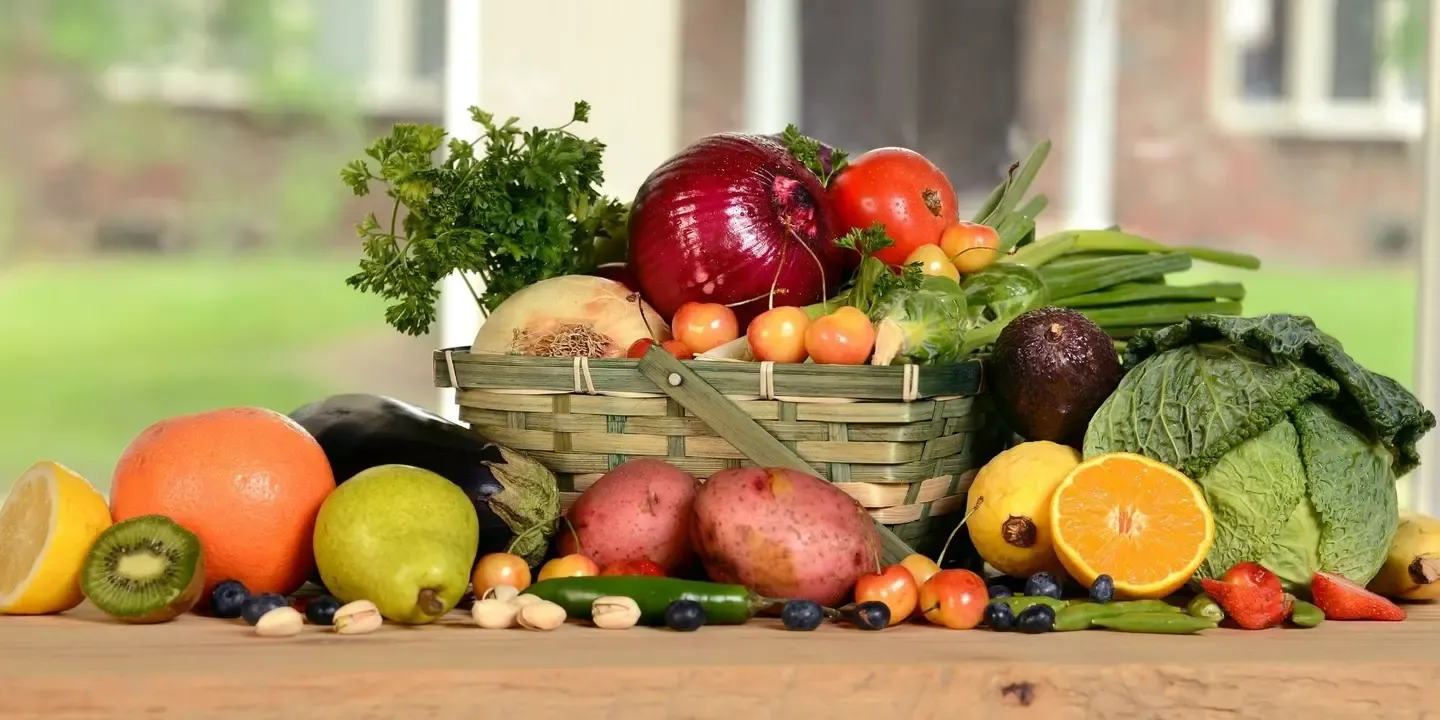
I love fresh fruit and vegetables and like to buy them at the farmers’ market. When I’m at the supermarket and find an unbeatable offer just before closing time, I’m happy to grab it twice.
Nevertheless, I quickly reach the point where I can’t eat that much fresh fruit or vegetables. Moreover, my family rebels if there’s salad to eat three days in a row.
Depending on the temperature, some food items spoil faster than they can be incorporated into meal planning, or perhaps you want to enjoy the delicious mirabelles from summer on a cold winter’s day with rice pudding. Maybe you also pay attention to the additives in your food and canned or jarred goods from the supermarket are simply not an option for you.
With this contribution, we would like to support you in self-made food storage and highlight the advantages of each method.
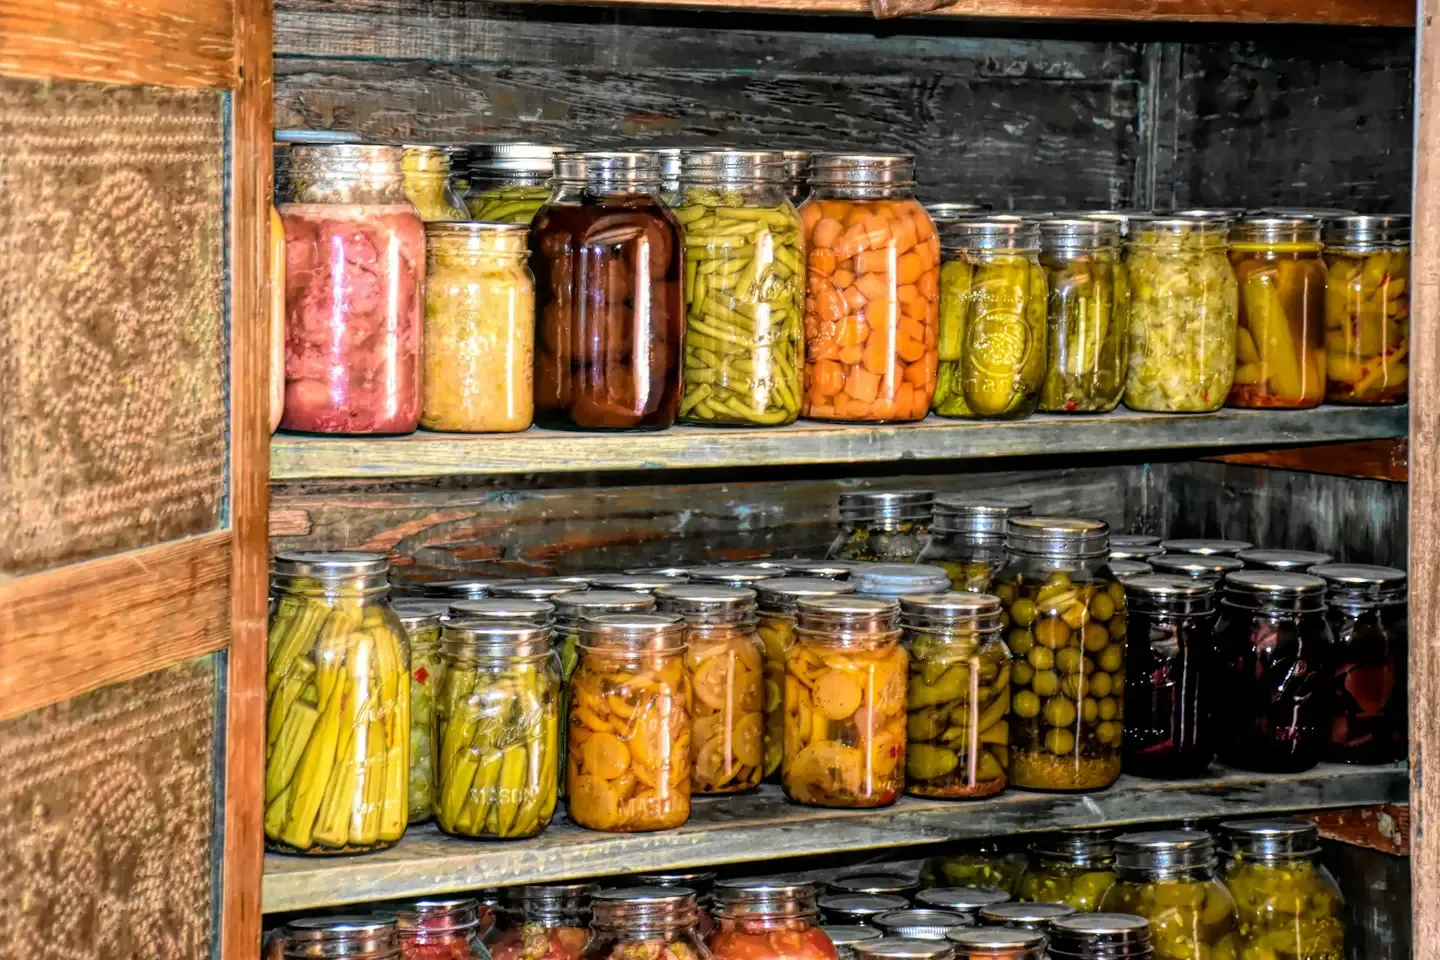
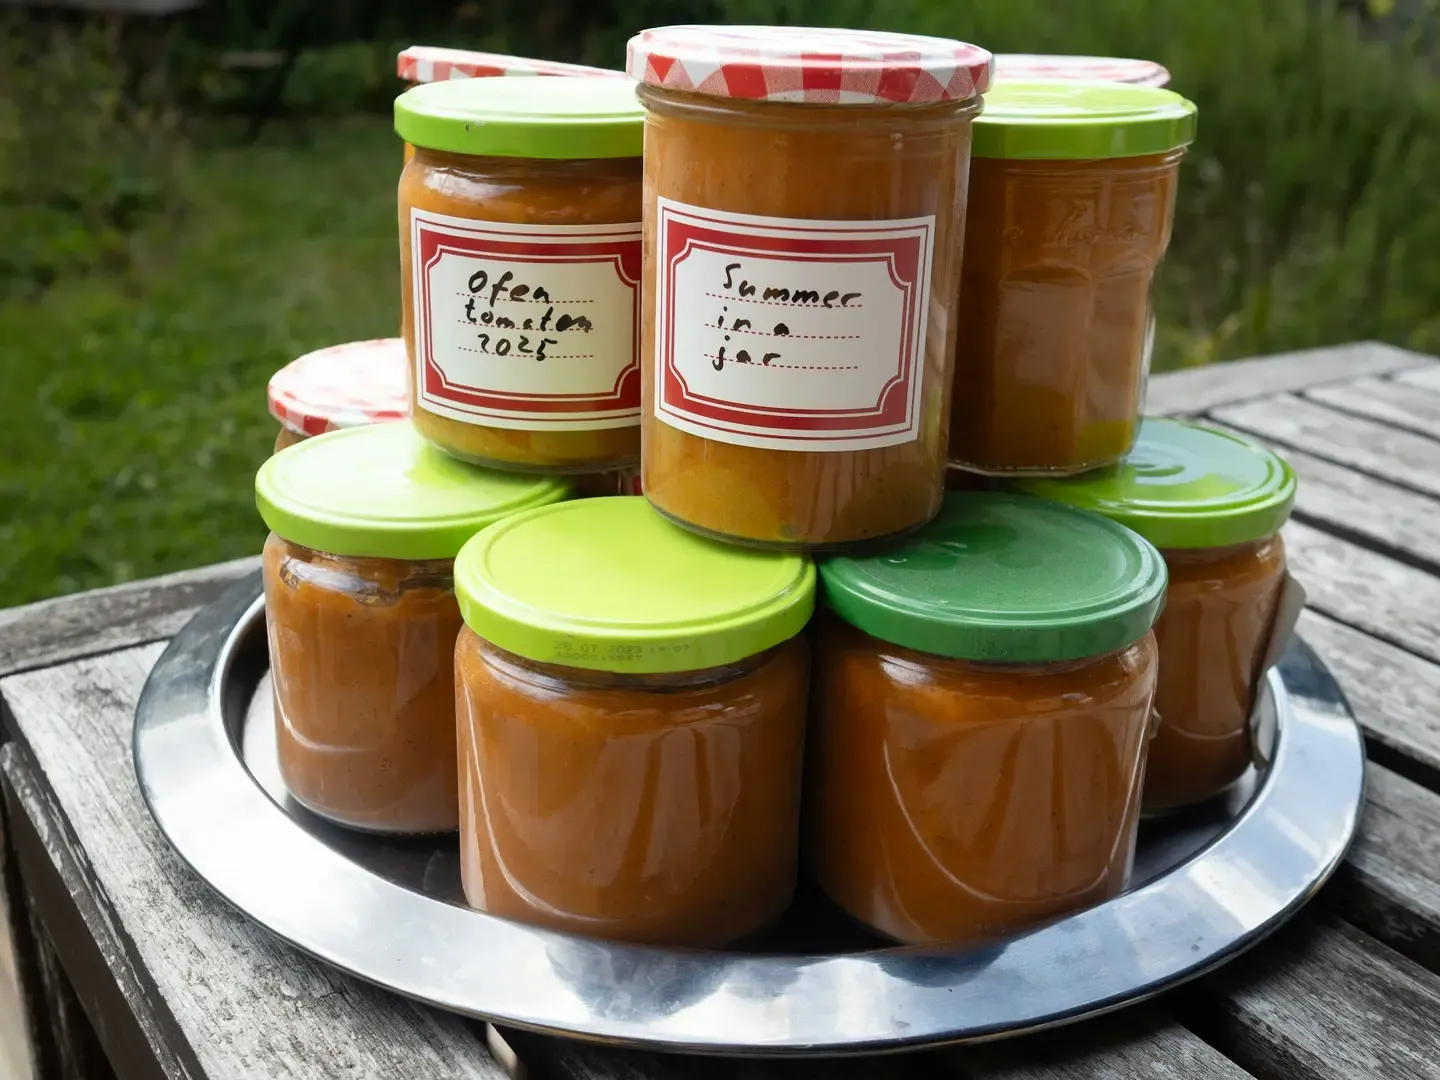
There are many ways to preserve fresh food for longer. The most common method is probably canning. Especially when making jam, the barrier to giving it a try yourself is relatively low.
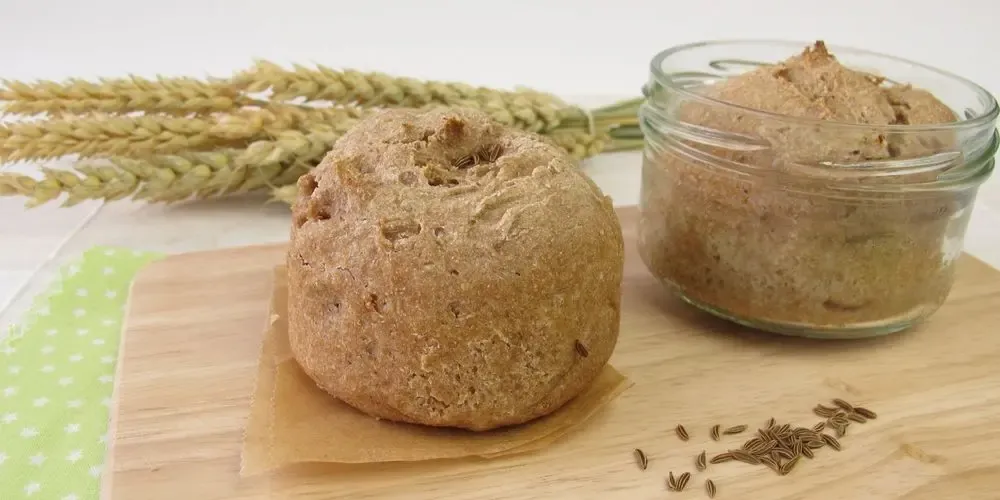
Bread in a jar. The alternative for long-term bread storage.
In our last post “Step by Step to Perfect Pantry Stocking” we promised to give you a detailed report on “Bread in a Weck Jar” and its shelf life. Here is the promised post including the recipe.
If you need to replenish your bread supply quickly, you can use a bread mix or try this recipe.
Once the dough is prepared, proceed as follows:
- Brush glasses with oil
- Put breadcrumbs into a glass and distribute by swirling
- Pour the excess into the next glass, proceed in this manner with all glasses
- Place a ball of dough into each glass (The ball should not fill more than half of the glass)
- Take a dish towel and cover the glasses, let the dough rise for 30 minutes in a warm place
- Clean the rim of the glass from dough and oil residues
- Place the filled molds without a lid on a tray or rack in the preheated oven
- After the baking time, turn off the oven and leave the jars inside to cool for about 10 minutes (slightly open the door for this)
Sealing and Durability
Check again to make sure there are no crusts or oil residues on the edges of the jars. Then put the lids on. If the bread has baked over the edge, cut it horizontally so that the jar can be closed without any problems. Caution, hot! If you take the jars out of the oven and seal them immediately, the bread will stay fresh for at least 2 weeks. Turn the jars upside down immediately and let them cool on the lid.
Beware of condensation water!
However, this method can lead to faster mold growth or the crust becoming somewhat soggy due to the condensation water that forms. If you want to keep your bread fresh for several months, please proceed as follows to minimize the formation of condensation water. Let the jars cool down until no more condensation water forms on the lid briefly placed on top. Preheat the oven to about 90 degrees Celsius. Now close the jars and place them in a baking dish or a higher baking tray. Fill the dish with about 2 cm of warm water. Slide the filled dish into the warm oven and bake the jars for 30 minutes. After baking, take them out of the oven and let the jars cool on a rack.
Your supply of bread is ready!
Did you already know all the methods? I myself have only tried canning and drying so far. I will definitely try baking bread in a Weck jar and fermenting. What do you plan to test? If you’ve become interested in more and would like to see our compiled list of recipes, please write to info@speisekammer-app.de and you will receive our best-researched recipes.
I look forward to your message, yours Alice




Read next